Settings under document properties

Katharina Reinhardt
Created: 26.11.2019 9:31 - Updated: 10.07.2020 1:18
Documents that are saved in PaperOffice can be provided with additional properties, information and additional comments. Properties such as document type, document status or keywords can be stored in order to search for them or to be able to filter during the extensive search.
The document properties are stored under various tabs, which can be easily changed by clicking with the left mouse button.
Title bar of the document properties
The unique document ID of the added document is listed in the title bar of the document properties.

PaperOffice generates a unique document ID, a so-called POD number, for each newly added document or email. This number is also converted into a QR code and displayed in the "General document overview" of the respective document.
You can easily search for this ID in your quick search by simply copying it to your Windows clipboard and then pasting it into the search bar.
Click on the arrow to the right of the help symbol to enlarge the properties window for even more convenient operation.
Another click on the arrow reduces the window to its original size.
Clicking "X" closes the document properties window.
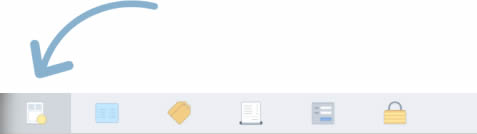
Tab 1: General document overview
The first tab of the document properties shows the general document overview and document information.
The preview of the title page is displayed on the left together with the QR code on the right.
Every document in PaperOffice receives a unique identification number, which is displayed as a QR code, among other things, which you can print out at any time and attach to your document. Applying the QR code brings immense advantages, such as the revision-proof filing. In this way, documents containing the QR code are automatically recognized by PaperOffice with each scan or adding process based on the QR code and the change is saved as a new document version.

Simply click on "Print QR Code" and in the next step select any printer and apply the code to the original document in a clearly visible manner.
For an optimal future recognition of the QR code, we recommend the use of a label printer.
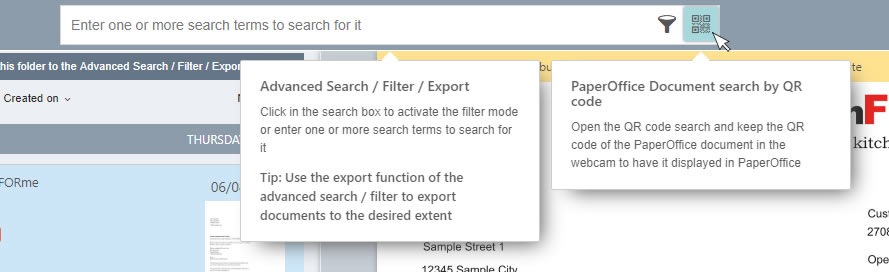
In your next document search, you can easily click on the QR code symbol in the search bar and follow further instructions. The corresponding document is immediately displayed in PaperOffice.
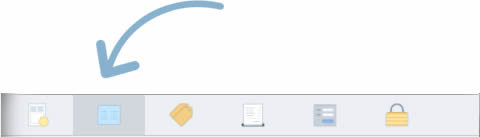
Tab 2: Basic properties of the document
In the next tab of the document properties, the so-called “Basic properties”, a freely selectable document name can be entered and additional dates such as “date on the document”, “inbox, due date or resubmission date” can be specified. In this way you can later filter your search for specific document properties, such as dates.
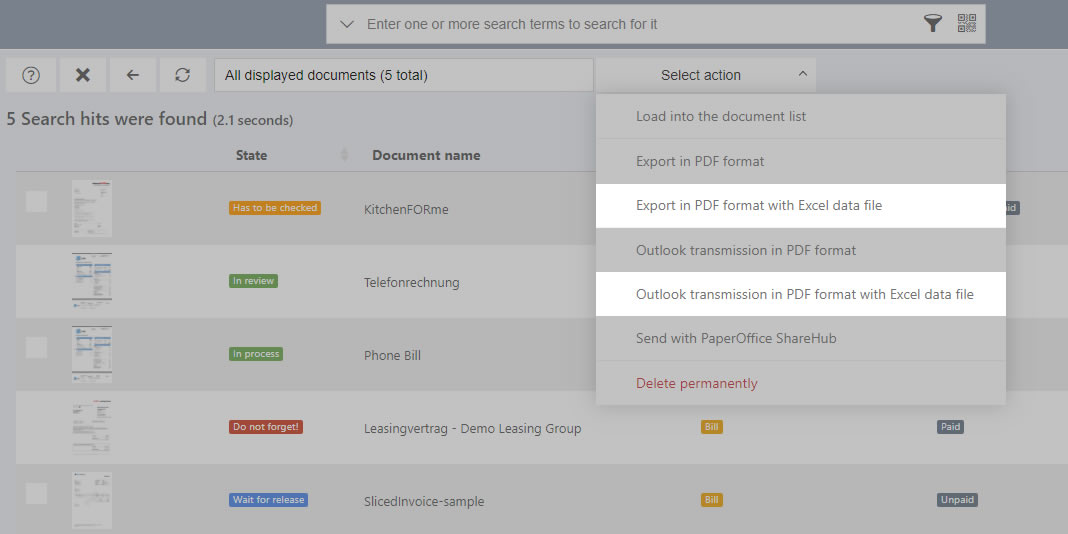
All information stored in this tab is taken into account in your Excel export from the advanced search.
Change document name
To change the document name, type in any name under the name "Name" and then save your changes by clicking on the lower button "Save change".
The document name will be searched in the general search.
Dates of a document
The next area of the currently selected tab relates to the dates.
You can enter the date in the field under the designation "Date on document" or correct an existing one that is stated on the document (such as an invoice or an offer). The PIA AI module integrated in PaperOffice tries to read the document date from your document when adding the documents.
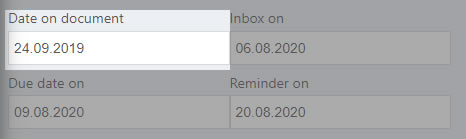
Entering the date is very helpful if, for example, you later filter explicit documents for a specific document date in your advanced search and then want to send this to your tax advisor.
To save a date or change an existing one, left-click in the field under the name "Date on document" and select the appropriate date in the calendar. Save the changes by clicking the button “Save changes” below.
If the document has arrived by post, "Incoming mail on" can also be noted with a date. As with the specification of the date on the document, the incoming mail date is also taken into account as a filter setting in the advanced search.
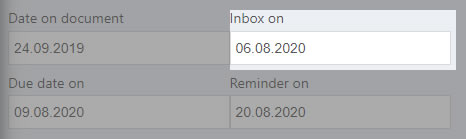
To save a date or to change an existing one, click with your left mouse button in the field under the label "Inbox on" and select the appropriate date in the calendar. Save the changes by clicking the button “Save changes” below.
For work on a workflow or work assignment in a team, the due date can be assigned in the currently selected tab.
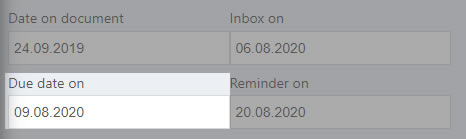
This option is very useful. You can also filter for this document in your advanced search (as with the previously mentioned dates) by explicitly clicking on the due date in the filter information.
In addition to this, however, this document will also be given in your personal or your network briefing under "upcoming" or "due" events. So after every start of PaperOffice or thanks to a manual call, you can see at a glance if documents are due for the next 14 days or if the due date has been missed.
To save a date or to change an existing one, click with the left mouse button in the field under the term "Due date" and select the corresponding date in the calendar. Save the changes by clicking the button “Save changes” below.
The same applies to the date of the "Reminder on" as to the due date.
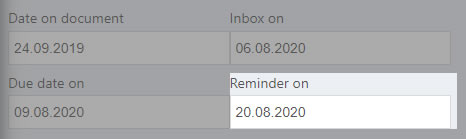
Save the date for the resubmission of the document and you will never forget important deadlines. The date under "Reminder on" is also recorded in your daily briefing and you will be reminded if something has been put on follow-up.
As with the dates described above, the date of the resubmission is also taken into account as a filter setting in the advanced search.
To save a date or to change an existing one, click with your left mouse button in the field under the designation "Reminder on" and select the relevant date in the calendar. Save the changes by clicking the button “Save changes” below.
The due date or reminder can be confirmed by ticking the appropriate names and saving the changes. As a result, this document is no longer listed in the briefing under overdue or upcoming events.

How do I remove a previously saved date from the date field?
Simply by clicking with the left mouse button in the corresponding date field, marking the complete date with the key combination CTRL + A and pressing the DEL key.
Comments on the document
Additional bullet points or comments on documents can easily be made in the "Remarks" area. There are many tools available for capitalization, underlining or enumeration.
Everything that is entered in remarks will be included in the general search and searched.
Check the box below for your comment and the comment will be displayed in the form of a virtual post-its.
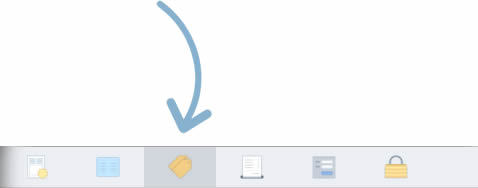
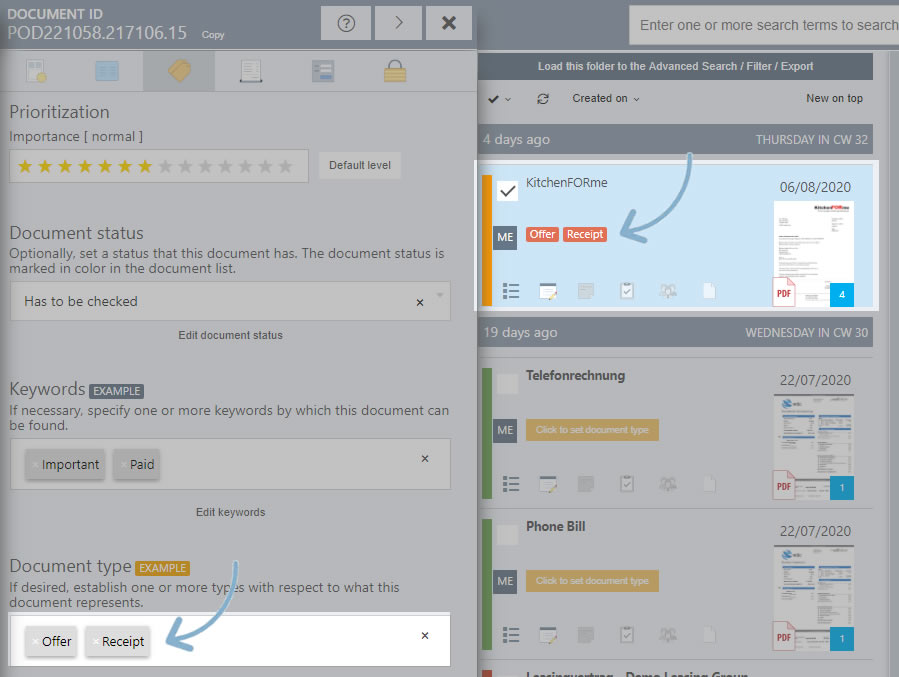
Tab 3: Keywording
You can assign a prioritization to the document in order to indicate that it has an importance level from "low" to "high". In addition, the document status can be specified and keywords, document types and original storage locations can be stored.
All information stored in this tab is taken into account in your Excel export from the advanced search.
Prioritization
Set the priority of your document from "lowest" to "highest" in order to make the priority rank visible at first glance. So you can select 1 star for the lowest priority up to 14 stars for high priority.
Move the mouse over the individual asterisks and click with the left mouse button on one of the stars to select the appropriate priority level and thus assign it to the document.
The priority designation is indicated above the asterisk in brackets next to the designation "Importance". This changes from “lowest” to “high”.
By clicking on the "Default level" button, the importance "normal" and the number of stars in the amount of 7 are automatically defined.
After the prioritization has been set, click on "Save change" in the lower area to save your changes.
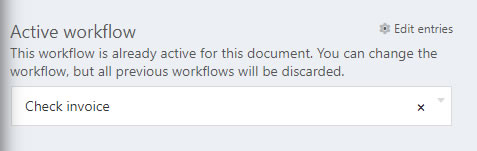
Active Workflow
Thanks to the PaperOffice Workflow Control Module, you can assign an already created WorkFlow to your document and assign a task such as "Check Invoice workflow". In this way, a document can be assigned to a specific person or group for editing and given a deadline.
If the task is not completed within a defined time, the workflow will escalate and e.g. thereby trigger further workflows.
You can also specify whether the workflow should be digital user approval or e.g. should be released with a specific password and thus terminated.
Defined workflows are also marked in color under the document status in the document list and can thus be viewed at a glance.
Users to whom the workflows have been assigned are shown the workflows with individual details as soon as the corresponding document with a workflow assignment is called.
This way no more appointments are missed and no more tasks are lost.
Click in the selection list of the document properties to select an already predefined workflow.
After a workflow has been assigned, click on “Save changes” in the lower area to activate the workflow.
How to create workflow rule, edit and delete existing ones is described in a separate Topic.
Information and handling of the workflow dialog is also described in a separate Topic.
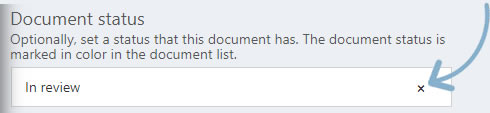
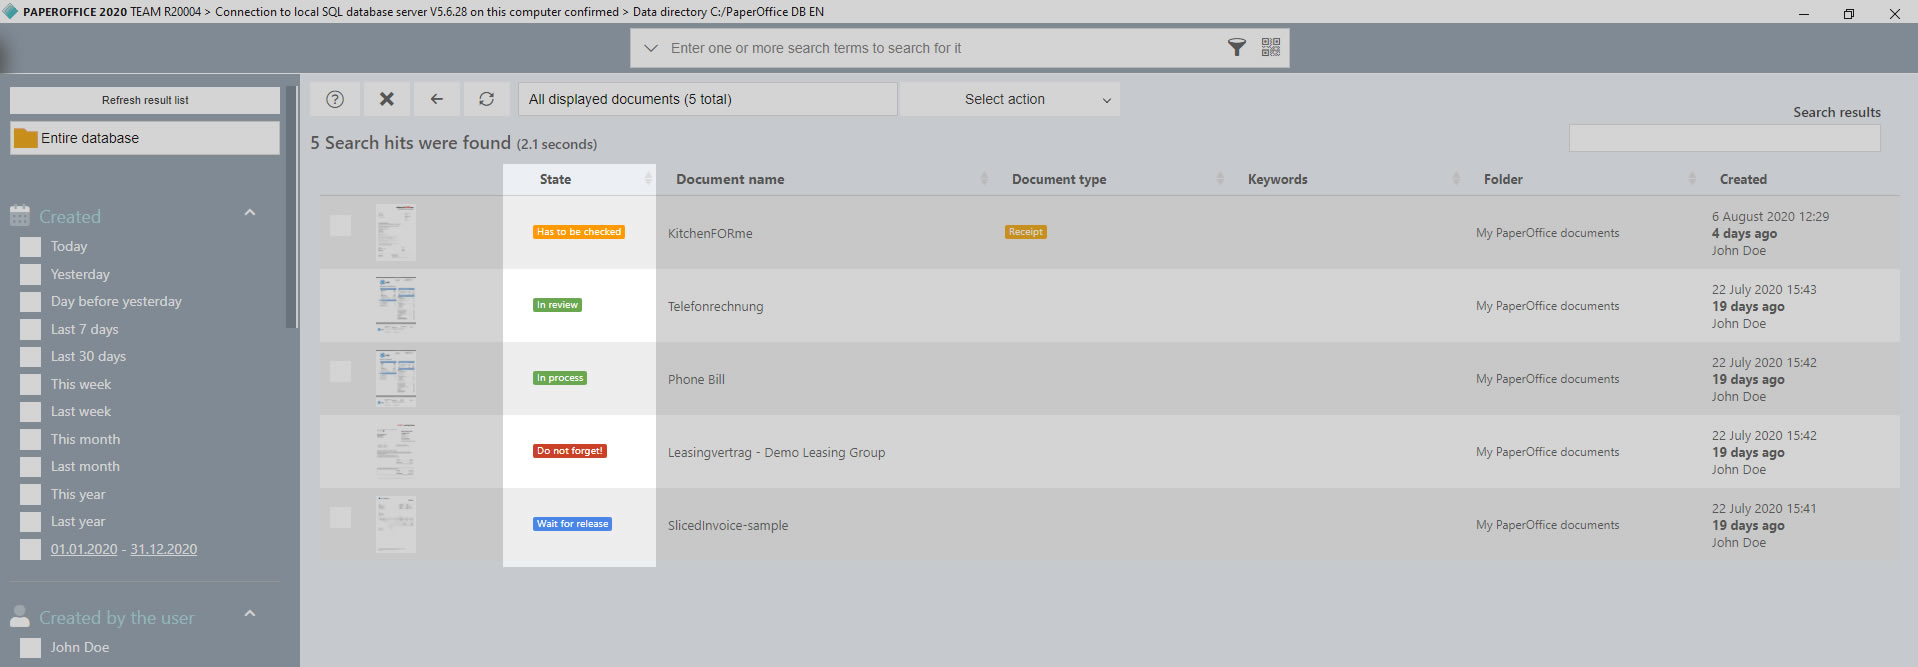
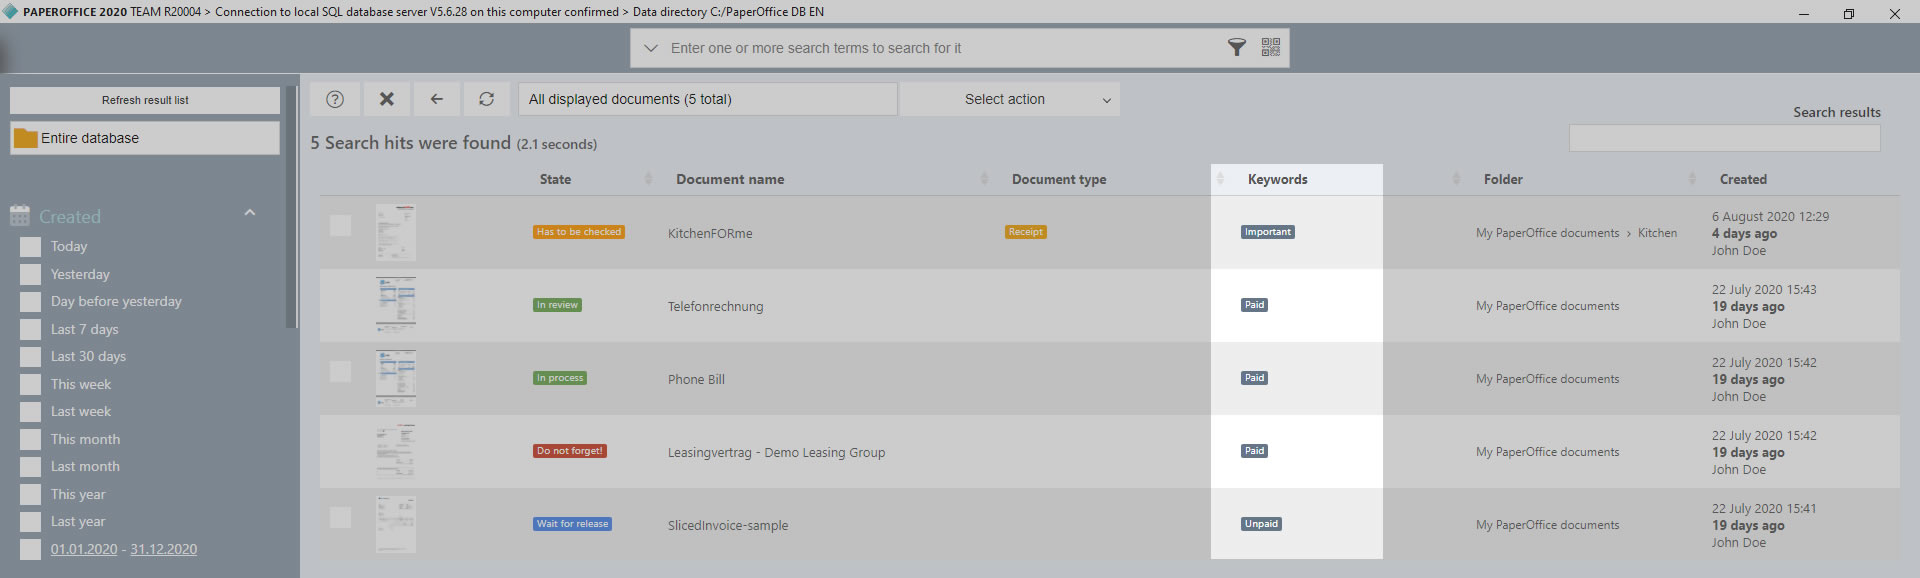
Document status
You can optionally define a status that the document has and assign a color to it in the document status management. The document status is marked in color in the document list.
Status entries are used to make your documents in the document list even more informative and to make various document properties recognizable in terms of color, as well as for future searches and the filter setting for the status.
For example, you can assign the status "not paid" and the color red for your incoming invoices and the color green for "paid". Accordingly, next to the document entry "Invoice XYZ" in the main view, the bar changes from gray to red or green by default, depending on which status has been assigned to the document and you get an overview of all your unpaid or already paid invoices at a glance.
In addition, the display of the documents can also be changed according to status entries. The documents are displayed according to the stored status entry.
Click in the selection list on the label "Choose a status" to select an already predefined status entry. To change the status entry that has already been selected, you can click into the selection list again and simply select a different status entry.
If you want to remove the predefined status entry for this document, click on the "X" symbol on the right in the selection list and remove the entry.
Predefined status entries are loaded into the selection list. You can also save user-defined status entries by clicking on the "Edit document status" button. How to create new status entries and edit existing ones is explained in another topic.
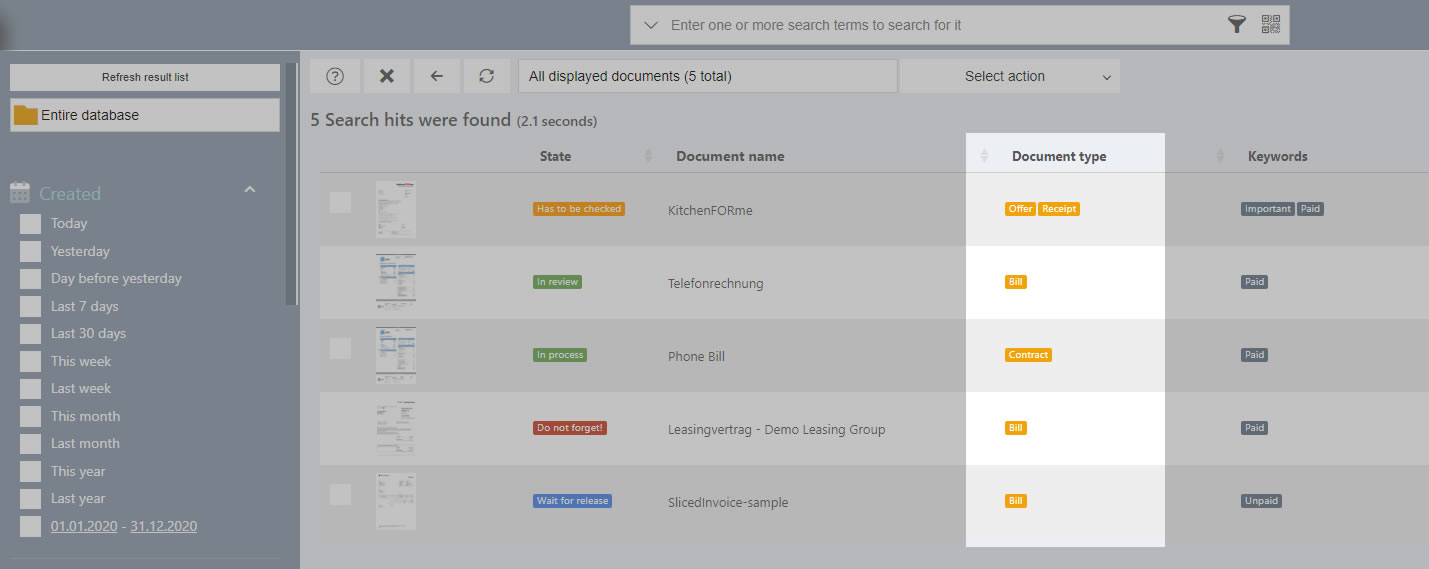
After you have predefined the background color for your status entries, you can sort the result list according to existing status entries during your search and see the corresponding status entries of the document entries found at a glance.
Keywords
One or more keywords can optionally be set.
These can also be filtered for in the search.
In addition, the display of the documents can also be switched to the "Display by keywords". The documents are listed according to the assigned keywords.
Click in the selection list to select an already predefined keyword.
Click again in the selection list, then click with the left mouse button on one of the entries to add an additional keyword to your document.
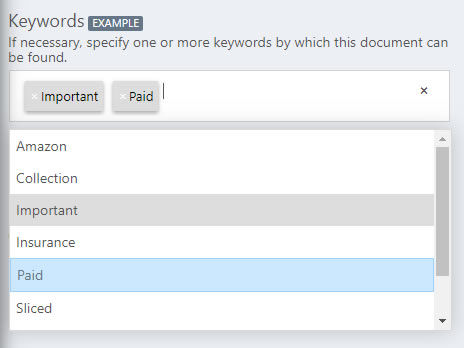
The rectangle "Example"  shows the stored color for your keywords, so you can see the corresponding keywords of the document entries found during a search process in the result list at a glance.
Pre-defined keywords are loaded into the selection list. You can also store user-defined keywords by clicking on the "Edit keywords" button. How to create new keywords and edit existing ones is explained in another topic.
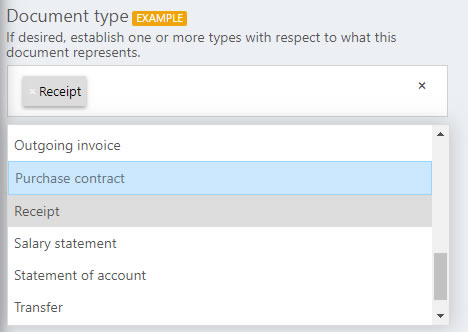
Document type
Define one or more document types which your document is about (invoice, offer, reminder).
The type is displayed in the document list in the corresponding entry.
Document types are used to distinguish the documents according to their types at first glance in the document list as well as for future searches and the filter setting according to the document type.
One or more document types can optionally be specified.
In addition, the display of the documents can also be switched to the "Display by document type". In this way, the documents are listed according to the document types stored.
If several document types have been saved for a document, the document appears in the "Display by document type" for each saved document type.
Click in the selection list to select an already predefined document type.
Another click in the selection list, then click with the left mouse button on one of the entries stores an additional document type for your document.
Save your changes by clicking on "Save changes".
The "Example" rectangle shows the standard color for your document types (orange)
 ,
so at first glance you can see the corresponding document types of the document entries found during a search in the results list.
,
so at first glance you can see the corresponding document types of the document entries found during a search in the results list.
Predefined document types are loaded into the selection list. You can also store user-defined document types by clicking on the "Edit document types" button. How to create new document types and edit existing ones is explained in another topic.
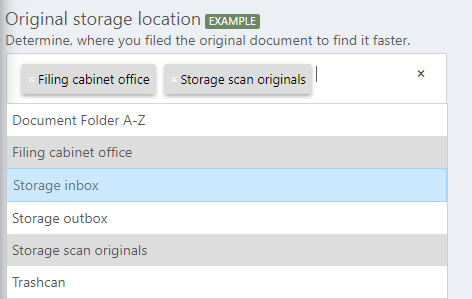
Original storage location
The storage of the original storage location information is used to quickly find your original paper documents.
After you have saved the document in PaperOffice, you can move it to an original location, such as "Cabinet bookkeeping" or "Basement-> Shelf A-C", but also store this in PaperOffice in the document properties. This means that you can quickly present the original document to the person making the request at any time without losing a lot of time.
Click in the selection list to select an already predefined original storage location.
Click again in the selection list, then click with the left mouse button on one of the entries to save an additional original storage location for your document. With several details you can describe the original storage location more precisely.
Save your changes by clicking on "Save changes".
Predefined original storage locations are loaded into the selection list. However, you can also store user-defined original storage locations by clicking on the "Edit original locations" button. Another topic explains how to create and edit original storage locations.
Tab 4: Receipt data
PaperOffice is specially optimized for document entry.
In particular, PaperOffice has powerful AI modules that, thanks to PIA AutoFill, automatically recognize document data in the document, read it out and automatically store it under this tab.
The recognized data are entered here next to the corresponding fields and are used, among other things, to search for these in PaperOffice, but mostly so that you can pass on the stored information together with the documents in the form of an Excel file to your tax advisor or carry out evaluations of any kind using the Excel export and thus an evaluation from the advanced search.
According to information provided under document number, total net, total gross, total VAT, booking text, comment and VAT ID. can be searched later in PaperOffice.
So that PaperOffice can automatically read out your added documents using PIA AutoFill and thus store them, the storage mode must be set to "Display storage dialog" or "Do not display storage dialog"
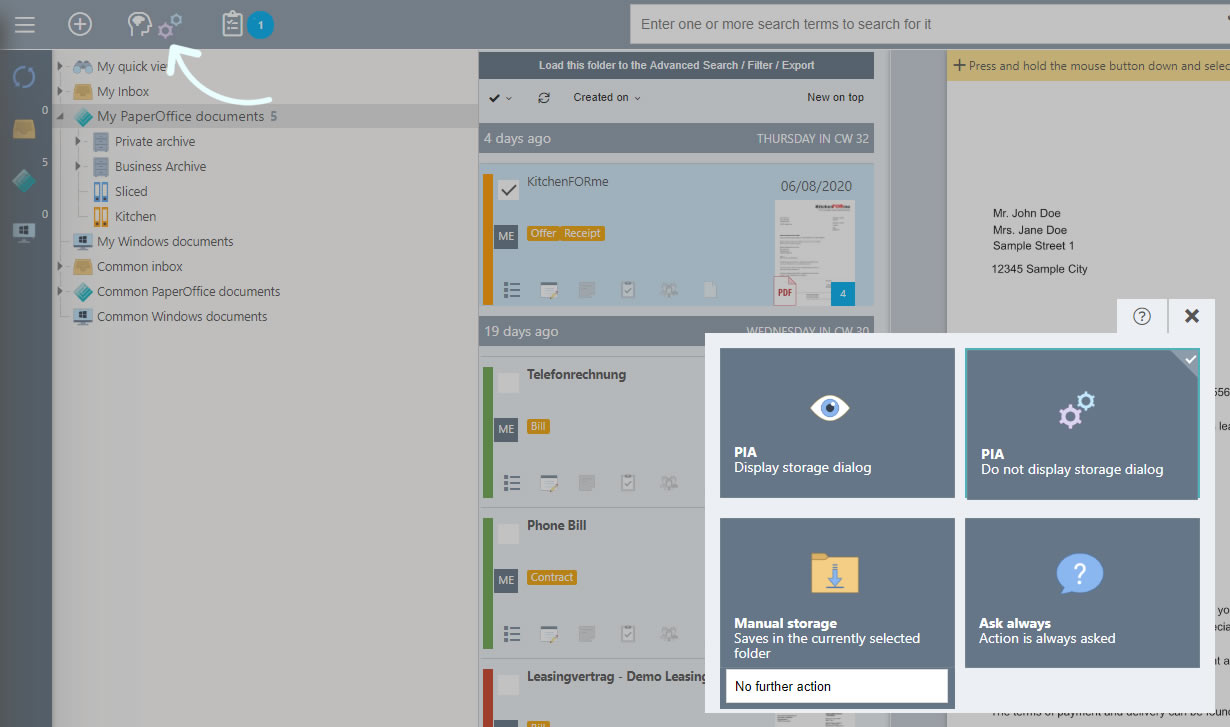
More information on PIA AutoFill is described in a separate topic.
You can also easily store the receipt data manually by clicking in the relevant fields with your left mouse button and entering the values.
Save the changes by clicking on "Save changes".
Tab 5: Custom fields
The user-defined fields allow maximum customization options for your documents. A wide variety of user-defined fields can be added that are not available for keywording by default.
PaperOffice also integrates these fields into the filter function in the advanced search and searches the content of these in the keyword search. Please note that the filter limitation up to max. 1 custom field per document can be run.
Self-created custom fields can be integrated directly into the document. In this way, specific information can be saved directly in document properties and you no longer need separate applications because the necessary input fields are already available.
Pre-defined custom fields are shown in the current tab. You can of course create and edit your own user-defined fields by clicking on the "Edit custom fields" button.
Every newly created user-defined field can be dynamically loaded into the document. This can be done at any time while editing and the document does not have to be reloaded.
The number of additional forms is not limited and can be defined or modified as you wish.
You can explicitly specify which user-defined field is to be displayed for which document type. You can store the “Date” field for the “Invoice” document type and the Checkbox field for the “Delivery note” document type.
How to create new user-defined fields and edit existing ones is explained in another topic.
You fill out the fields by clicking the left mouse button in the corresponding field and making your entries.
Save the changes by clicking on "Save changes".
Tab 6: Security
Under the "Security" tab, you can explicitly specify the approval level for one or the other document. Users below this approval level will not see the document, not even in filter or search results.
Set the general approval level for the current document by selecting the number of asterisks. After the stage has been selected, it is automatically applied to other areas such as editing, distributing and deleting.
By clicking on the "Default level" button, the smallest approval level with an asterisk is automatically assigned to the document.
Move the mouse over the individual asterisks and click with the left mouse button on one of the stars to select the appropriate approval level and assign it to the document.
After the general release level has been selected, you can adjust the other areas accordingly. Please note that the number of asterisks cannot be less than the specified approval level.
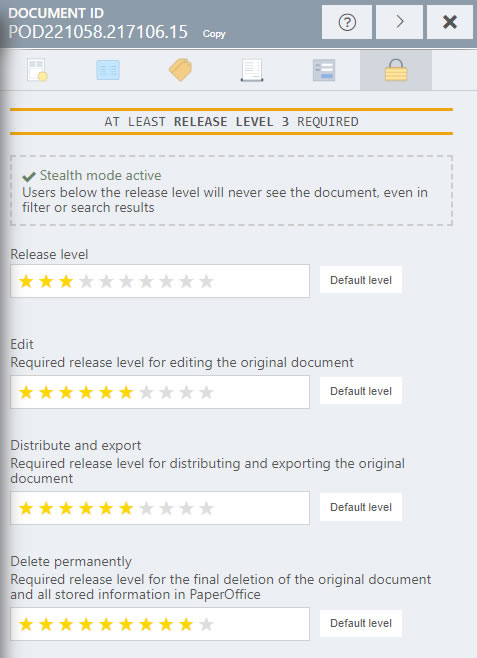
Save the changes by clicking on "Save changes".