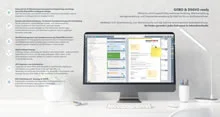
Store note information and assign tasks

Lukas Kuster
Created: 12.11.2020 11:40 - Updated: 03.01.2021 8:58
You can put notes on certain areas of the document, which you e.g. highlight or for which you want to leave a comment. You can manage them and search for them without having to install additional software
You can put as many notes as you want on the document pages.
You not only have the option of creating, editing and retrieving notes for a document or document page, but you can also explicitly select a document area for it. The document is not changed.
Since the inserted notes are integrated into the search, documents with certain notes can be easily found again at any time.
New note
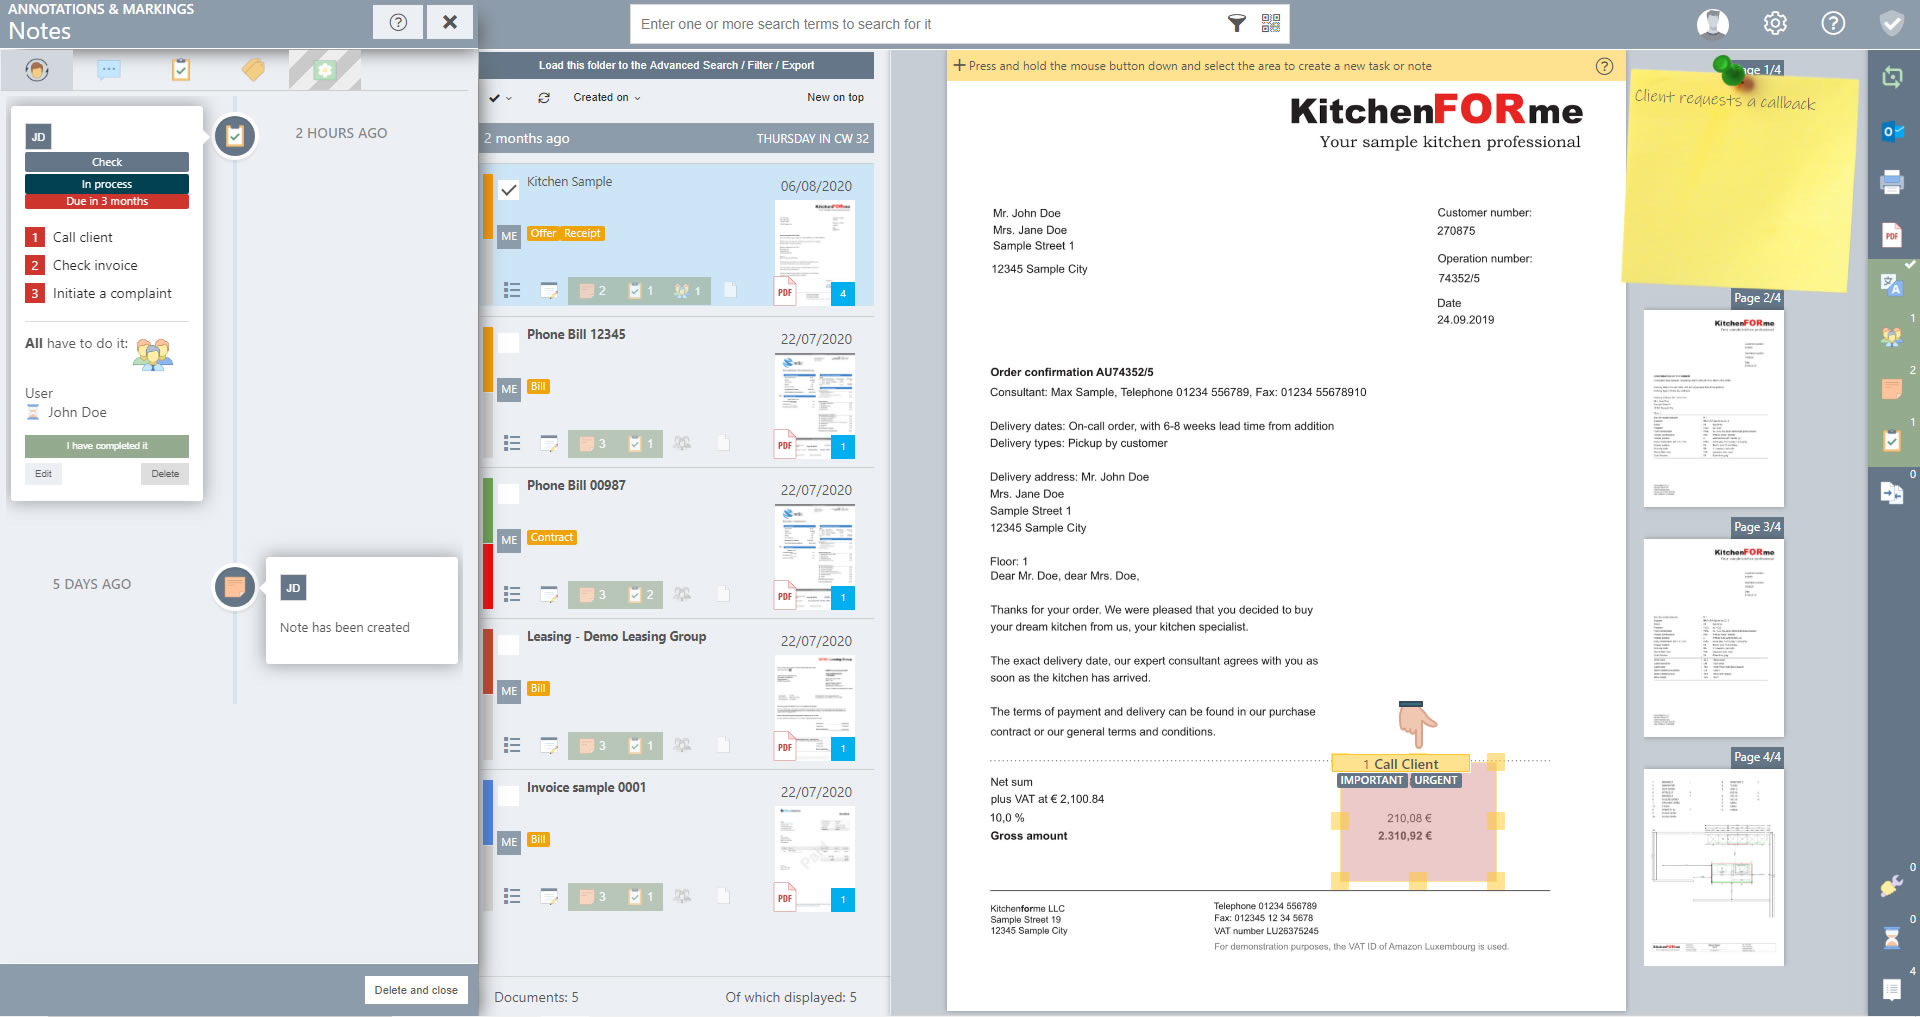
After the area has been marked, the note window opens on the left, where you can store extensive note information. This note window contains 5 tabs or tabs. When adding a new note, the window starts with the tab "Add new comment to note".

Now add a comment to the note you just created. Many tools for upper and lower case, underlining and listing are available to you. Then click on "Add Comment".
You can add as many comments as you want per note. Enter this later in the tab "Add new comment" and confirm your entry by clicking on "Add comment". You can later delete, complete and change this comment at any time.
By default, the content of the comment is not displayed in the preview view in order not to obscure the content of your document. If you want a visible comment on your document, this can be displayed in the basic properties in the form of a virtual post-it. How to edit the document properties is described in another topic.
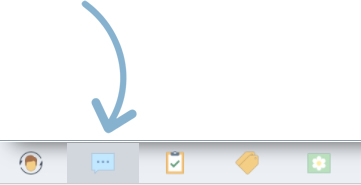
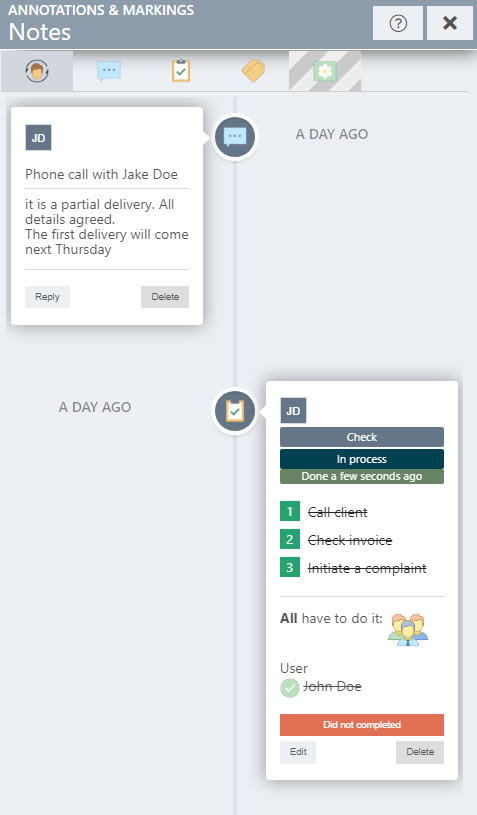
Tab 1: History
After the note has been added, the first tab "History" is activated, where the complete history of this note is displayed. You can see at any time when and by whom the note was created and when it was changed.
So you can reply to comments by clicking the "Reply" button. Your new comment will appear under the "History" tab.

You remove the comments by clicking on "Delete".
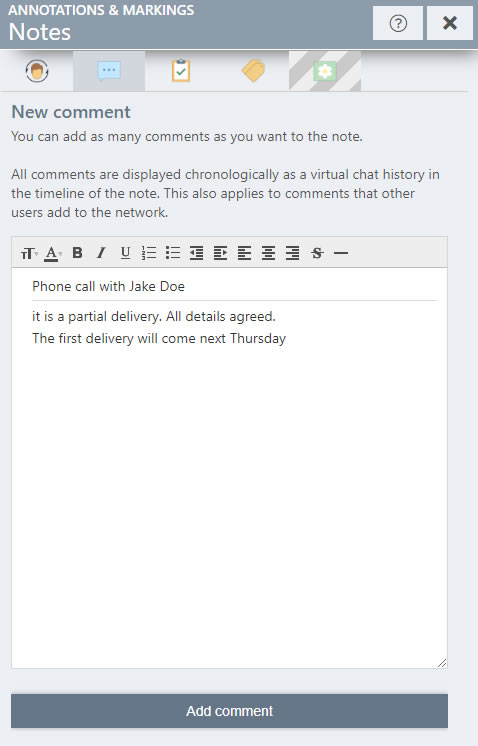
Tab 2: Add a new comment to the note
Under this tab you can always add new comments to your note. These are displayed chronologically as a virtual chat history in the timeline (History tab) of the note. This also applies to comments that other users in the network add.
Tab 3: Add a new task to the note
Tasks or reminders or to-do items can be assigned to the note in the "Add new task to note" tab.
Tasks can only be created in PaperOffice in connection with Notes, which can either be set on certain document areas, on the document completely or created in general.
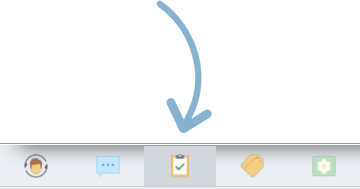
The Tasks tab is broken down according to the 3 W's principle: WHAT, WHO and WHEN.
In the "WHAT" area, you can describe what should be done in the first field.
TIP:For recurring tasks, we recommend that you create them in "Task templates". You can then easily select these by clicking the left mouse button in the corresponding field and selecting them. How you can easily create and manage these is described in a separate topic.
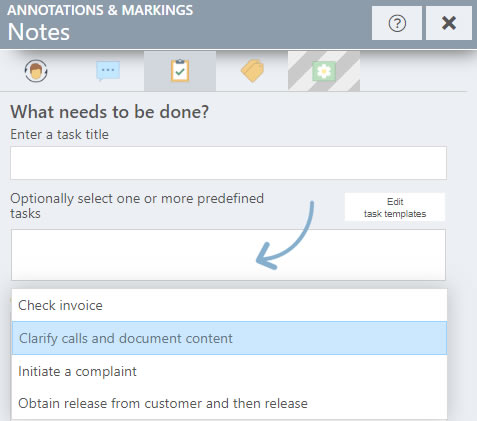
But you can also combine manual tasks with predefined ones and assign them to the document area, as well as enter comments or special instructions in the text field below and format them according to your requirements.
Enter the task description, select predefined tasks or simply leave comments on your task and save the changes by scrolling down to the bottom and clicking on the "Save task change" button.
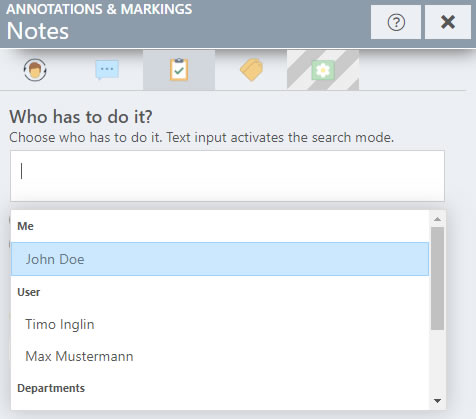
In the area "WHO" you can determine who will do the task or mention someone who should be reminded of it. Here you can mention the people in your network individually or assign entire departments to do so.
Here you can also determine whether "Anyone" person or group of people should do the task - which means that if one of the people or departments you mentioned marks the task as "done" - this is marked as done.
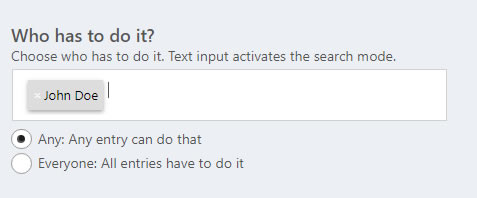
If “everyone” of the listed persons should complete the task, the task is only considered completed when all mentioned persons or departments mark the task as “done”.
In this way, all persons assigned to the task are notified if they should be assigned a task. In addition, it is very useful to find out which team member is responsible for which task. If you were not assigned to the task, you can leave comments and view the task, but you cannot mark it as completed.
Again, once you've been assigned to the task, you can leave comments on it and mark it as done.
Assigned tasks are listed in the briefing.
Mark task as done
After a task has been added, it appears in the note history.
You can edit or delete an existing task at any time by selecting it in the history and clicking the corresponding button.

If the task has been assigned to you, you can mark the task as completed by clicking on "I've done it".
You can revoke the marking at any time by clicking on "Not done yet".
In the Options area, you can make the task a serial task. This means that all tasks that come after that cannot be done until it has been done
Simply tick the box and save your changes by scrolling down to the bottom and clicking on the "Save task change" button.
In the "WHEN" area, the time required and the detailed specifications for the current task can be specified; these entries are optional.
If you want to limit the time of your task or reminder, click in the appropriate date field and select the start and end date and the times of your reminder.
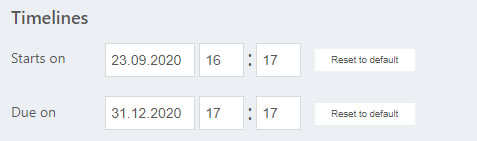
You can deactivate the time settings by clicking the "Reset" button. The date field and the times are grayed out.
You can reactivate the time specifications by clicking on the date field with the left mouse button and reactivating the grayed-out area.
You can also mark your task with a high or low priority by optionally assigning it one star (low priority) or several (high priority). Clicking on "Standard" assigns the priority level "medium" to the task.
After the time specifications have been set, you can define detailed specifications.
This includes the approximate time required, which you can define by clicking on the selection list, so each team member can see who is assigned to the task or simply needs information about the approximate time required for the task.
You can also optionally enter categories for this task, such as Store "Check", "Forward" or "Approve". But you can also easily create your specific categories by clicking on "edit" to the right and creating new task categories.
The same applies to the task status. You can either select predefined status entries or you can easily create new status entries by clicking on the "edit" button on the right and then select them from the list.
In addition, you can add a completion status to the status by moving the slider to the left or right with the left mouse button in order to define the percentage of completion of the task.
Click on "Save change to task" to save the change to the existing task.
The status entry just assigned to the task as well as the category are displayed in the process above the corresponding task, so you can always keep a clear overview of the status.
An infinite number of tasks can be created per note, if you want to create one in addition to the one just described, go to the tab again and follow the steps just described.
Tab 4: Assign title and keyword to the note
Under "Assign title and keyword" you can define the note title and keywords for the note.
Enter a note title in the corresponding field; after confirmation, this will be displayed in the preview above the note you have created.
You can also optionally save keywords for this note. You can create these by going to "Manage note keywords" and creating new keywords.
How to create and manage new keywords in the note keywords management is described in a separate topic.
Now click with the left mouse button in the field under the designation "Keywords for this note" and select the relevant keywords.
You can assign as many keywords as you want to the note. You can undo the selection by clicking on the entries again or by clicking the "x" on the right.
Confirm your entry by clicking on "Save and assign".
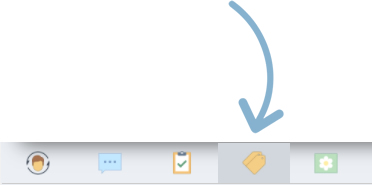
Tab 5: Store note icon
In the 5 tab "Note icon" you can assign icons to your note in order to give it a certain amount of attention.
Click on “None” and a new window with various icons will open.
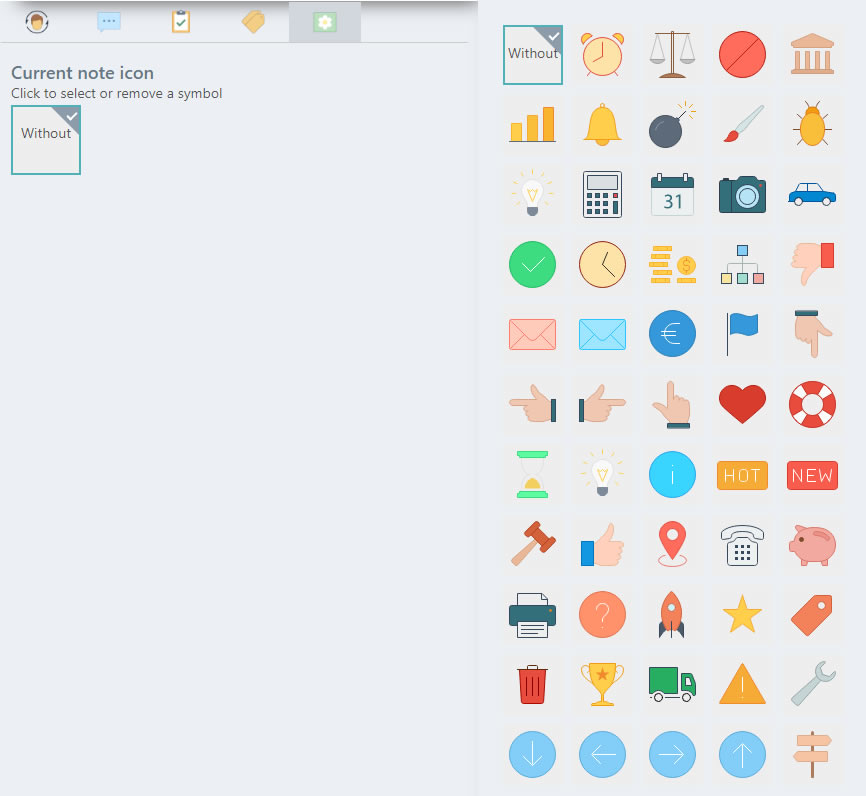
Select any icon by clicking on it with the left mouse button.
After a icon has been selected, you can decide how to position the icon.
Click on the desired position of the icon - you will see the change live in the document preview. In addition, the size and the note color can be set by clicking on "Note color" and selecting the color in the next step.
The icon settings do not have to be saved explicitly.
If you want to remove the icon, click again on the upper icon and select "None".
Delete note
Click the “Delete and Close” button to delete the note.
Close note window
After the note has been created and you have defined the criteria for it, click on the "X" symbol to close the note window.
The position of your existing note can be changed at any time by moving the existing note.
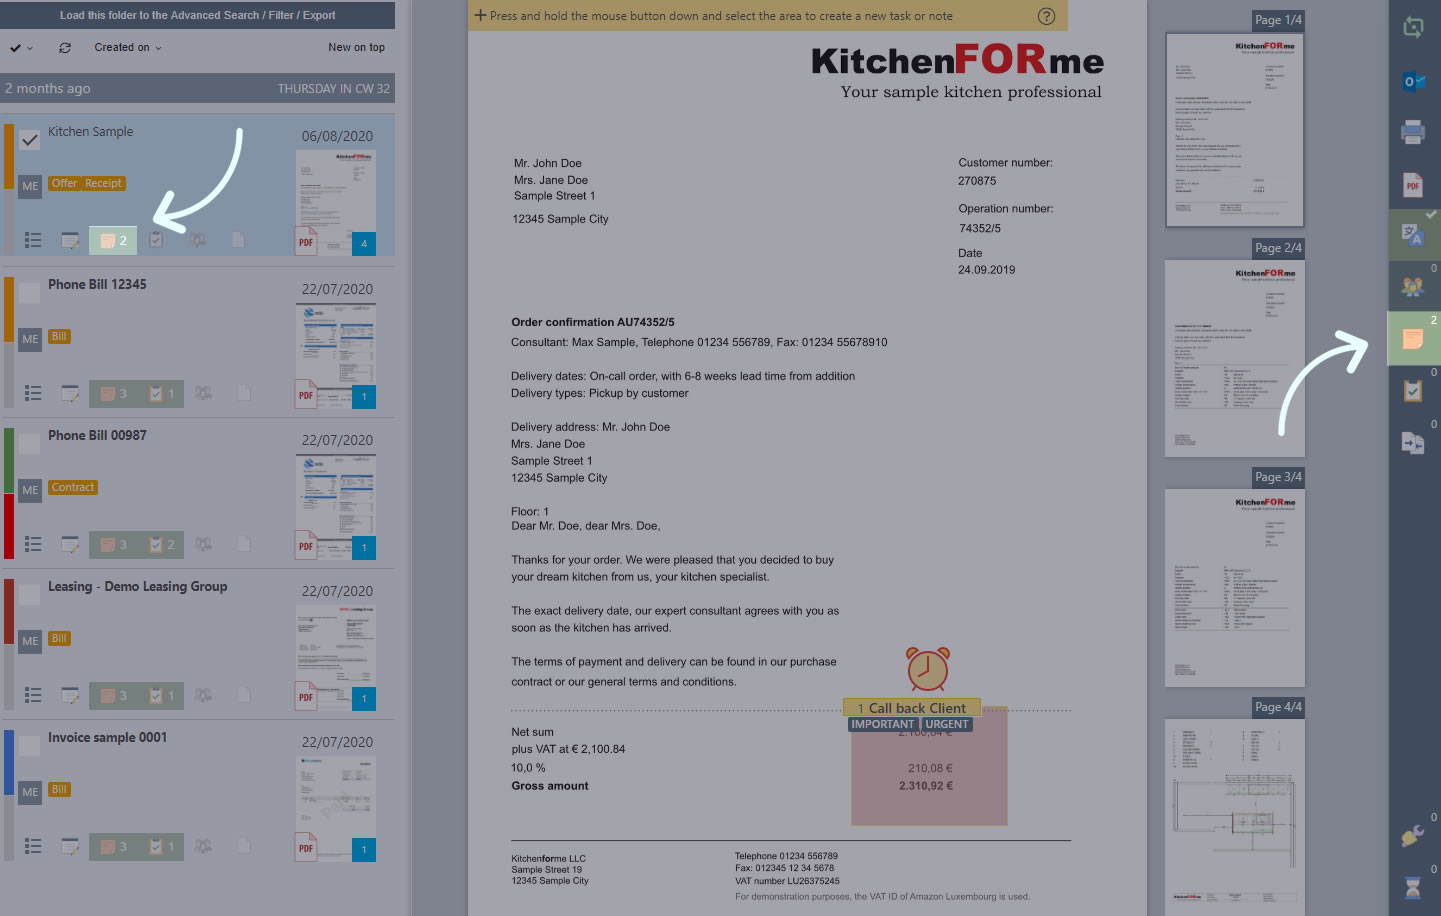
The note icon in the document list and in the quick access to the document elements also show the number of notes on the document.
View the note details
You can call up the note details by clicking the note preview on the document page or the note icon in the document list and in the quick access to the document elements.