How does the advanced search work?

Michael Zimmermann
Created: 26.01.2020 2:58 - Updated: 01.02.2020 9:03
Advanced search
PaperOffice has various search and filter functions that enable quick retrieval.
For example, when archiving documents and files, OCR is used as standard, which reads out the content of the files and allows convenient full-text research.
Regardless of whether it is a scanned document, a Word document, an email message or a PDF file - PaperOffice determines the text it contains. All information stored in PaperOffice is automatically searched, such as the document name, the text it contains, the folder name and comments on the document.
In addition to the quick search, you can limit your search to certain result areas with just one click, e.g. to display documents according to a certain date and user, document type or keywords.
Update results list
Clicking on the button labeled "Update results list" updates the results list on the left.
Narrow your search
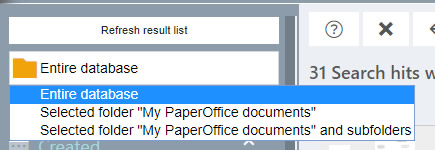
In the upper left area of the advanced search, you can narrow down your search even more. You can limit your search to:
by clicking on "Entire database"- "Entire database" - The search is carried out in the entire database
- "Selected folder" - The search is carried out explicitly only in the marked folder
- "Selected folder and subfolders" - The search is carried out in the marked folder and subfolder
Please note that the last two options for "Quick Views" are not available and the limitation is only possible for the entire database.
Search filter groupings
The left bar shows the respective filter groupings. By ticking the box next to the necessary filter setting, you can filter your search results accordingly.
Created: Check the box next to an entry, such as "Today" - this will only list the document results that were added today.
You can of course make a so-called "AND link", which means that you can check the box next to the "Today" but also "Last year" filter. The results of both date restrictions are listed accordingly.
You can use the last entry to specify the dates that are relevant to you. By clicking on the date and selecting the date in the calendar - your selection will be transferred immediately and you will only see those document entries in the list that match your filter information.
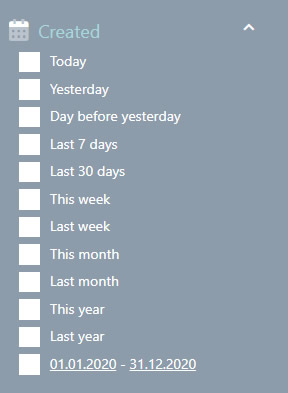
You can collapse or expand the grouping at any time by clicking on the small icon to the right of it.

# user
Check the box next to a user if you want to filter the result list according to this user. For example, documents will only be displayed to you by Mr. John Doe if you check the box next to his name.
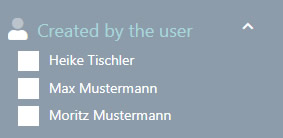
You can collapse or expand the grouping at any time by clicking on the small icon to the right of it.
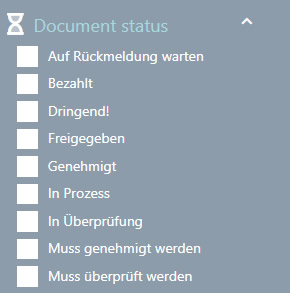
# document status
Set the check mark next to the corresponding status entries to filter the documents according to the assigned status entries.
How to set status entries in the document properties is explained in a separate Topic .
How to edit status entries, create new ones or delete existing ones is also described in a separate Topic.
In this way, you will only see those documents in the results list that have been assigned the corresponding status entry.
You can collapse or expand the grouping at any time by clicking on the small icon to the right of it.
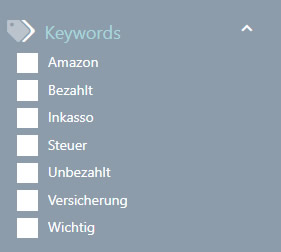
# keywords
Set the check mark next to the corresponding status entries to filter the documents according to the assigned keywords.
How to set keywords in the document properties is explained in a separate Topic .
How to edit keywords, create new ones or delete existing ones is also described in a separate Topic .
In this way, you will only see those documents in the results list that have been assigned the relevant keyword.
You can collapse or expand the grouping at any time by clicking on the small icon to the right of it.
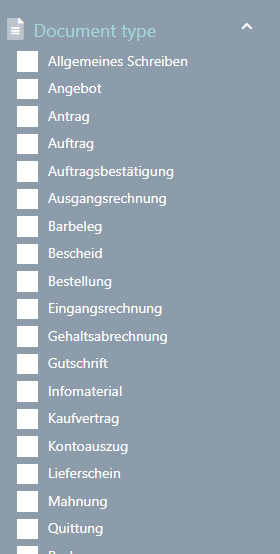
# document type
Set the check mark next to the corresponding document type entries to filter the documents according to the assigned document types.
How to set document types in the document properties is explained in a separate Topic .
How to edit document types, create new ones or delete existing ones is also described in a separate Topic .
In this way, you will only see those documents in the results list that have been assigned the corresponding status entry.
You can collapse or expand the grouping at any time by clicking on the small icon to the right of it.
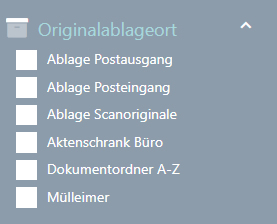
# original storage location
Place the check mark next to the corresponding original storage location entries to filter the documents according to the assigned original storage locations.
How to set original storage locations in the document properties is explained in a separate Topic .
How to edit original storage locations, create new ones or delete existing ones is also described in a separate Topic .
In this way, you will only see those documents in the result list that have been assigned the corresponding original storage location.
You can collapse or expand the grouping at any time by clicking on the small icon to the right of it.
# contacts
Set the checkmark next to the relevant contact entries to filter the documents according to the assigned contacts.
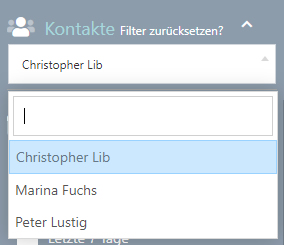
How to create contacts and link your documents to these contacts is explained in a separate Topic explained.
In this way, only those documents are displayed in the result list that have been linked to the relevant contact.
You can collapse or expand the grouping at any time by clicking on the small icon to the right of it.
# date on document
# inbox on
# due on
# resubmission on
Place the check mark next to the corresponding entries to filter the documents according to the data.
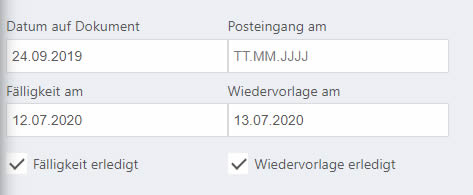
How you can store the date on the document, inbox date, due date or resubmission date is explained in a separate Topic .
In this way, only those documents are displayed in the result list that have been linked to the relevant contact.
You can collapse or expand the grouping at any time by clicking on the small icon to the right of it.
Table information
After you have entered a search term, PaperOffice starts the search and shows you the search results in the table. You get all the information you need about the document at a glance.
Column 1: Details of hits. If the search hit is in the text or in the comment on the document, you will see the blue square symbol with the number of hits on the left of the document, click on the symbol , opens the preview of the corresponding text passage with the term you are looking for.
Column 2: Thumbnail view. The corresponding thumbnail view is shown in the second column. Clicking on the thumbnail of the document page from the recognized text shows the corresponding page in full screen view, another click closes the full screen view.
Column 3: Status. If the document that is listed in the result list has a status entry, this status is displayed in the third column. The corresponding status color and font color are also taken into account and displayed accordingly.
Column 4: Document name. The document name is specified in the fourth column. If the term you are looking for is also in the document name, it will be highlighted in color within the document name.
Column 5: Document type. In the fifth column, the document type or several document types assigned to this document are specified.
Column 6: Keywords. Assigned keywords are shown in the sixth column.
Column 7: Storage folder. The seventh column shows the storage folder.
Column 8: Date. The date on which the document was added is given in the eighth column, as is the user name.
By clicking on the individual designations, the table contents can be grouped accordingly.
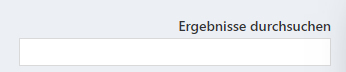
Of course you can also search for an explicit document name within the result list in addition to the entered search term by entering this into the right search field labeled “Search results”.
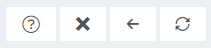
Symbols and further actions
You can hide the advanced search at any time by clicking on the "X" symbol next to the question mark.
You can switch to quick search by clicking on the icon with the arrow pointing to the left.
You can update the search results by clicking the "Refresh" icon.
You can perform various actions on the result list. In this way, you can carry out the actions for all documents displayed or for each selected document.
To do this, mark the required documents by ticking the box on the left and selecting the entry "All marked documents" from the selection list.
Now select the action that you would like to carry out for the selected or all documents by clicking on the selection list labeled “Select action” and selecting an entry:
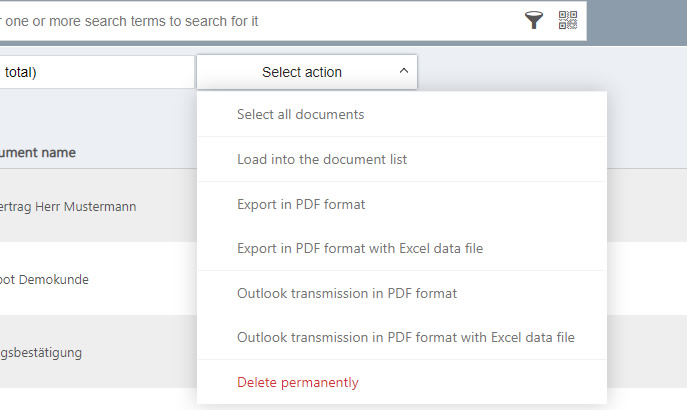
“Select all documents“: Clicking on this entry marks all documents in the result list.
“Load into document list“: Clicking on this entry loads the documents into the document list in the main view.
“Export in PDF format“: Exports the documents in PDF format to the desired target folder. Clicking on the entry opens a further window in which you can choose whether the PaperOffice folder structure, in which the document (s) are located, should also be exported.
"Export in PDF format with Excel data file": This entry does the same as the previous one, but PaperOffice also creates an Excel file that contains all information about the exported documents. This list can be processed further automatically. It is also automatically a self-supporting archive, as you can click the link in the Excel list and the PDF will be displayed.
“Outlook sending in PDF format“: This entry does the same thing, but like the one before, your document / documents will not be saved in the Windows directory, but exported as email via Outlook.
“Outlook sending in PDF format“: This entry does the same thing, but like the one before, not only your documents but also the Excel file with all information are exported via Outlook.
"Delete permanently": Deletes all of the documents you have selected.